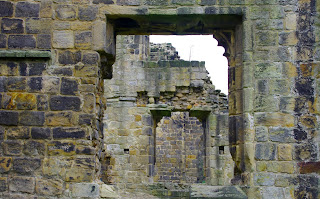
Whats important when processing landscape and architecture pictures?
- The quality of the image: Shoot in RAW format in camera its the full potential of your camera whereas a jpeg is only a 1/5 and is a compressed file (Raw isn't a compressed file), even though its a lot of memory its easier to edit the photograph later in photoshop.
- Focus: Make sure the image is nice and sharp and has no motion/camera blur or you can sharpen the image more on photoshop using smart sharp.
- Noise: Always have the ISO on the lowest you can to reduce noise.
- Exposure: Always make sure your photograph is exposed properly for example if some parts of the photograph are too over exposed then they will flash when in playback and they can't be corrected.
- Composition: Make sure your image is interesting or it will look flat. Although if you don't like your composition you can crop it in photoshop or if there is something in your image that is ruining the shot then you can get rid of it.
- Colours: If your picture looks a bit dull or boring you can add vibrance and saturation to make the photograph more lively.
Here are some that I edited:
I already had saturation on my images due to a camera setting but they were too saturated so i toned them down.
I cropped this photograph because there was too much sky and i wanted to balance the sky and the grass.
I straightened this image by using the rulers and the transform tool in Photoshop.
Before:
After:
I also straightened this image too:
Before:
After:


